
Half Kneeling Hip Flexor Stretch: 6 Best Steps + Fixes
MyFitnessCoach
October 2, 2026
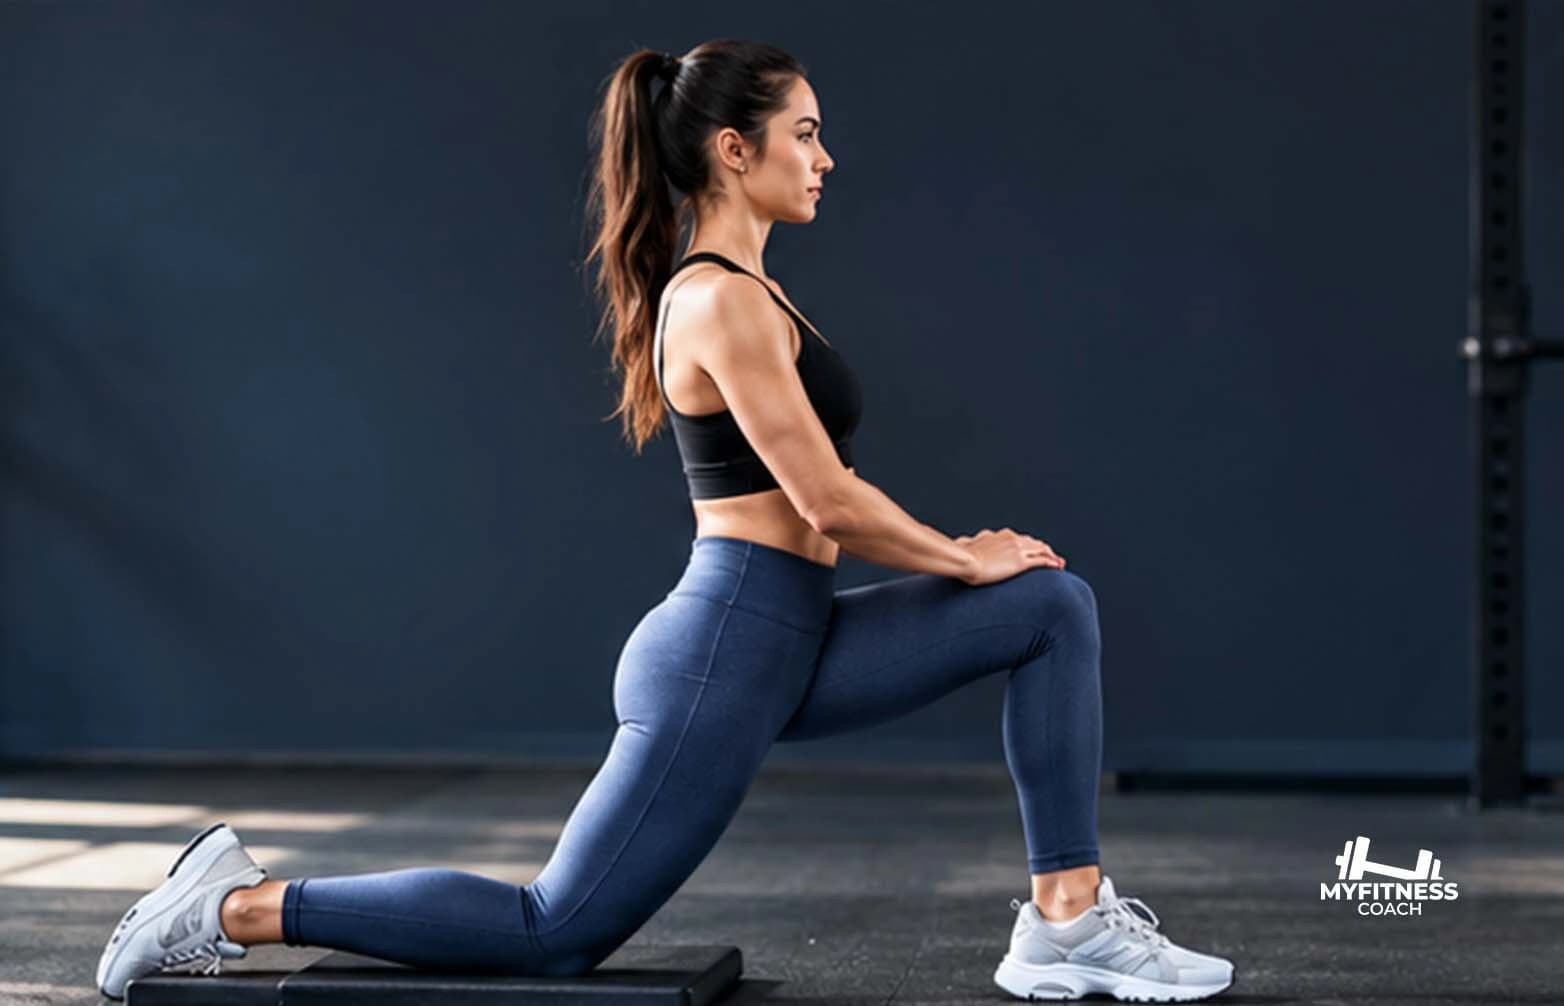
The half kneeling hip flexor stretch lengthens the muscles at the front of your hip. It works when you tuck your pelvis under and squeeze the glute of the kneeling leg, not when you simply lunge forward. Without the tuck, most people arch their lower back and feel almost nothing in the hip.
You may also see it called the kneeling hip flexor stretch, the half kneeling stretch, the half kneeling hip stretch or the kneeling lunge stretch. It is the same position. This guide shows the exact setup, the one small adjustment that changes the stretch, a fix-it table for when it feels wrong, and how long to hold it.
Quick answer: how to do the half kneeling hip flexor stretch
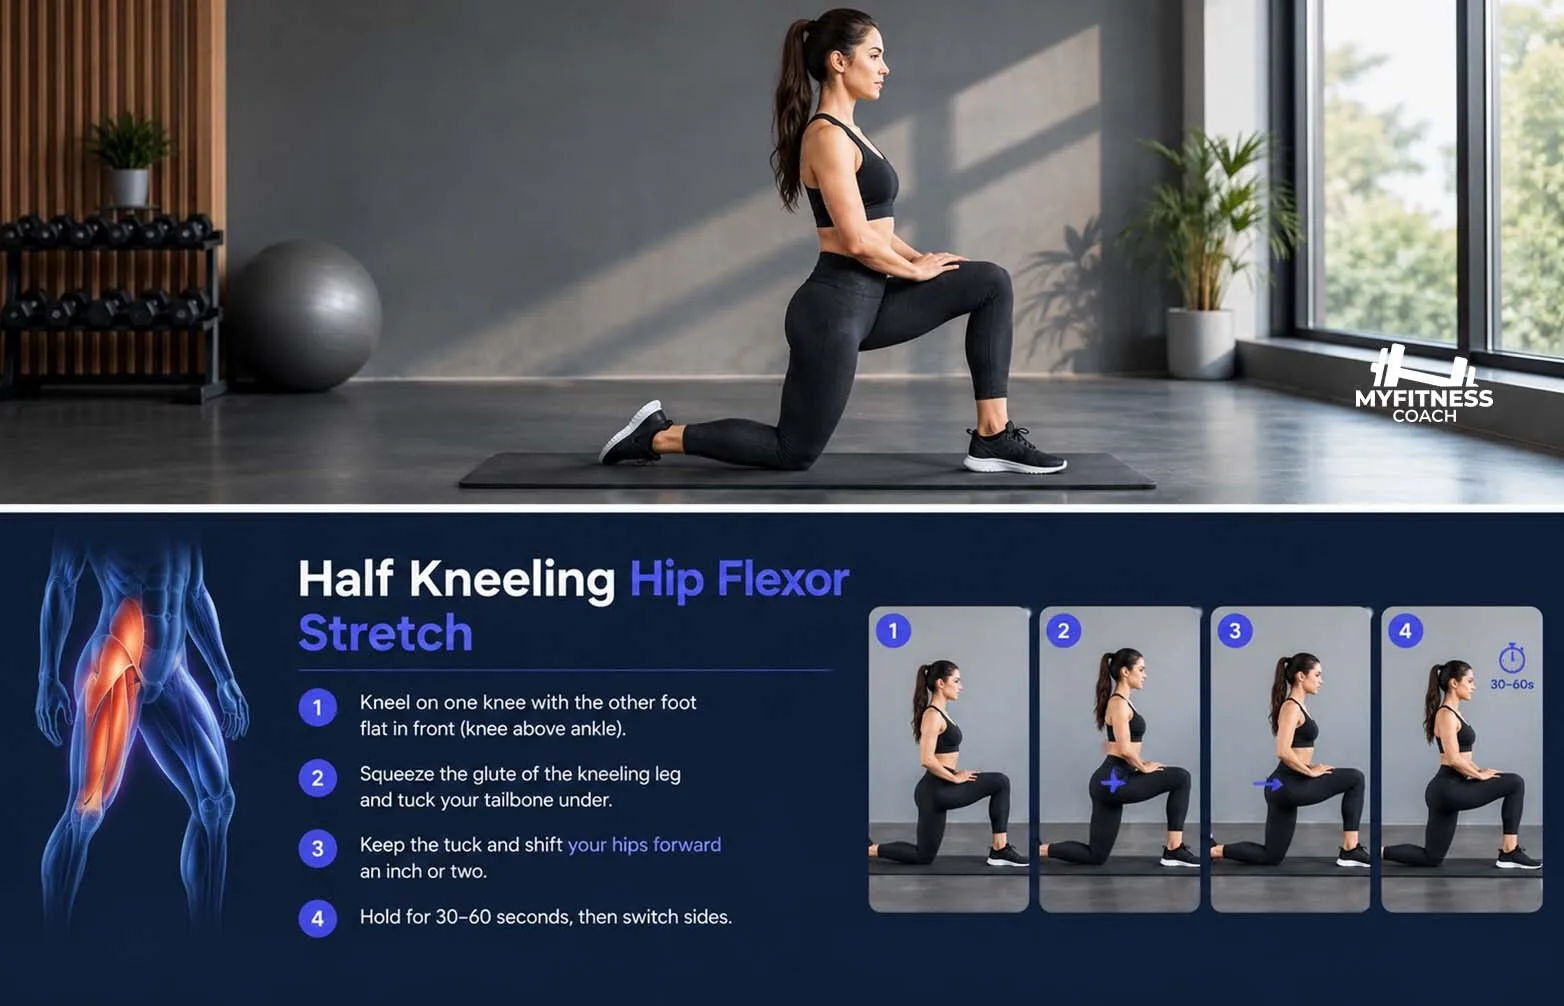
- Kneel on one knee on a pad, with the other foot flat in front and the front knee above the ankle.
- Squeeze the glute of the kneeling leg and tuck your tailbone under.
- Keep the tuck and shift your hips forward an inch or two.
- Hold for 30 to 60 seconds, breathing slowly, then switch sides.
Dose: 2 to 3 holds per side, on 4 to 5 days a week. That adds up to roughly 10 minutes per side per week, which is the point where research stops finding extra gains (more on this below).

Table of Contents
Subscribe to our newslettter
What the Half Kneeling Hip Flexor Stretch Targets
Three muscles do most of the work you are stretching:
| Muscle | Where it sits | What you feel |
| Iliopsoas (psoas major and iliacus) | Runs from the lower spine and pelvis to the top of the thigh | A deep pull at the front of the hip |
| Rectus femoris | The quad muscle that crosses both the hip and the knee | A stretch down the front of the thigh |
| Tensor fasciae latae (TFL) | The outer front of the hip | Tension toward the outside of the hip |
This makes it the most common psoas stretch, but the psoas only lengthens when your thigh moves behind your body and your pelvis stays tucked. The hip flexors also pull the front of the pelvis down when they are shortened, which is why a tipped pelvis cancels the stretch. Because your back knee is bent, the rectus femoris gets stretched at the knee as well, so some people feel it mostly in the quad.
How to Do the Half Kneeling Hip Flexor Stretch, Step by Step
- Pad your knee. Kneel on a mat or a folded towel with one knee on the floor, directly under your hip.
- Set your front foot. Step the other foot forward and flat so the front knee sits above the ankle and the shin is close to vertical. Rest your hands on your front thigh or hips.
- Stand tall. Lift your chest, keep your ribs stacked over your pelvis and look straight ahead.
- Make the tuck. Squeeze the glute of the kneeling leg and tilt your pelvis so the tailbone points toward the floor. Your lower back should flatten, not arch.
- Shift forward. Keep the tuck and move your hips forward an inch or two, until you feel a pull at the front of the kneeling-side hip.
- Hold and breathe. Stay for 30 to 60 seconds with slow breaths, then switch sides.
The stretch should feel like a firm pull, not pain. A Sports Medicine meta-analysis of 189 studies found that stretching into discomfort or pain added nothing to flexibility gains, so there is no reason to push through sharp sensations.
The Pelvic Tuck: Why Most People Feel Nothing in This Stretch
The usual way to do a kneeling hip flexor stretch is to push the hips forward. That moves the thigh behind you, but it also lets the pelvis tip forward and the lower back arch. The hip looks like it is opening, while the front of the hip barely lengthens.
A 2024 crossover trial in BMC Musculoskeletal Disorders tested exactly this. Healthy, active adults did the half kneeling stretch two ways, one on each leg: the conventional hip extension stretch, and the same stretch with a posterior pelvic tilt (the tuck). The researchers measured reactive hip flexor force, a gauge of how strongly the muscle resists being stretched.
- After the tuck version, hip flexor force fell by 4.85 N·m.
- After the conventional version, it barely changed (0.06 N·m).
- The difference between the two was statistically significant (p = 0.003).
Treat this as a good reason to use the tuck, not as the final word. It was a small trial of healthy adults, and it measured the effect right after stretching, not over weeks.
How to check your own tuck: Stand side-on to a mirror in the stretch position. Your ribs should sit over your pelvis, your lower back should look flat rather than curved, and the glute of the kneeling leg should feel firm. If your belly is pushing forward, you have lost the tuck: reduce the forward shift and squeeze the glute again.
Troubleshooting: "I Feel It in the Wrong Place"
Most problems with the kneeling lunge stretch come down to the pelvis, the stance or the floor. Find your symptom, then apply the fix.
| What you feel | Likely cause | Fix |
| Pinch or ache in the lower back | Back is arching, no pelvic tuck | Squeeze the kneeling-side glute, tuck the tailbone, shorten the forward shift |
| Nothing at all | Pelvis tipped forward, shift too small or stance too short | Add the tuck first, then step the front foot a little further forward |
| Mostly quad, not hip | Rectus femoris is taking the stretch | Tuck harder and keep the shift small; some quad pull is normal with a bent back knee |
| Pressure or pain on the kneecap | Hard floor or knee too far forward | Pad with a folded towel or thick mat; keep the knee under the hip |
| Pain at the front knee | Front foot too close, shin leaning past the toes | Step the front foot further out so the shin is near vertical |
| Pinching at the front of the hip joint | Going too deep too fast | Reduce the range and stay at a firm pull; stop if the pinch stays sharp |
| Torso twists or leans to one side | Hips not square | Hands on hips, point both hip bones straight ahead |
| Wobbling or falling sideways | Narrow stance | Widen the feet slightly, or hold a chair or wall |
| Glute or hamstring cramps | Squeezing at 100% | Squeeze at about 70% and breathe out slowly |
| One side feels much tighter | Normal asymmetry | Give both sides the same time; start with the tighter side |
Sharp pain, numbness, tingling or pain that lingers after the stretch is not a technique problem. Stop and get it checked.
Half Kneeling Stretch Variations: From Easier to Harder
Start at the level where you can keep the tuck, and move up only when that level feels easy.
| Level | Variation | How to do it | Use it when |
| 1 | Supported half kneeling | Hold a chair, wall or pole with one hand while you tuck and shift | Balance is shaky or you are new to the position |
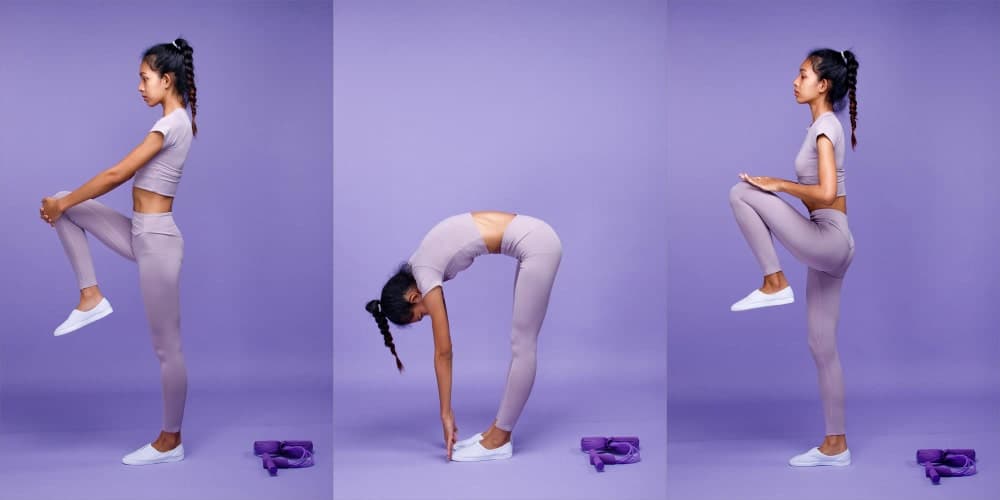
| 1 | Standing hip flexor stretch | Stand in a split stance, back heel up, tuck the pelvis and shift forward | Kneeling hurts your knees |
| 2 | Standard half kneeling | The six steps above | Your base version |
| 3 | Overhead reach | Raise the arm on the kneeling-leg side overhead and lean slightly away from it | You can hold the tuck and want a bigger stretch |
| 4 | Half kneeling hip flexor stretch with rotation | Keep the tuck, then rotate your upper body gently toward the front knee | You want to add trunk movement without losing pelvic position |
| 5 | Couch stretch | Back knee against a wall, shin up the wall, front foot forward | You have outgrown the standard version; it loads the quad much more |
If you are warming up, our guide to dynamic stretching examples covers movement-based options. For a deeper static stretch after training, move up this ladder one level at a time.
How Long to Hold the Stretch and How Often to Do It
Total stretching time matters more than how you split it. A Sports Medicine meta-analysis by Ingram and colleagues pooled 189 studies and 6,654 adults and looked for the point where extra stretching stopped adding flexibility.
| Goal | What the review found | What to do |
| Loosen up in one session | Gains peaked at about 4 minutes per muscle group | Up to 4 minutes per side is plenty |
| Build flexibility over weeks | Gains peaked at about 10 minutes per muscle group per week | Aim for about 10 minutes per side per week |
The review found no clear difference by how many days a week people stretched or by how hard they pushed.
A simple plan: hold 3 times for 45 seconds on each side (about 2 minutes 15 seconds per side) on 4 to 5 days a week. That lands at roughly 9 to 11 minutes per side per week.
Limits to know about:
- The recommendations are about flexibility only. The review did not test injury risk or athletic performance.
- Hamstrings and calves made up about 80% of the studies, and only 8 of the 189 studies stretched the hip. The hip result rests on little data.
- The long-term finding was rated moderate certainty and the single-session finding low certainty.
- People with poor starting flexibility improved more than people with average flexibility.
Do Tight Hip Flexors Really Cause Back Pain?
The popular claim is that sitting shortens your hip flexors, and that tight hip flexors then cause low back pain. The research is much weaker than the claim.
- A systematic review by Avman and colleagues looked for a link between limited hip range of motion and non-specific low back pain. It rated the evidence very low quality. The only hip movement significantly linked to back pain was limited internal rotation, and the authors urged caution even there.
- A 2023 systematic review and meta-analysis in the Brazilian Journal of Physical Therapy found very low certainty that hip stretching, added to specific low back exercises, reduced pain and disability in the short term. Hip strengthening showed a similar very low certainty benefit.
What this means in practice:
- Stretch your hip flexors because your hips feel stiff or you want more range of motion, not because a stretch is proven to cure back pain.
- If your back hurts, the stretch may feel good, but do not rely on it alone. Hip strengthening showed similar results in the same review, so a mix of mobility and strength work is a reasonable plan.
- Back pain that is severe, getting worse, or comes with numbness or weakness needs a clinician, not a stretch.
Who Should Modify or Skip This Stretch
The half kneeling hip stretch is safe for most healthy adults, but change it or pause it in these cases:
- Acute hip flexor or groin strain. Stretching a freshly injured muscle can make it worse. Wait until walking is comfortable, then start with the supported version and a very small range.
- Knee pain when kneeling. Use a thick pad, or switch to the standing version in the variations table.
- Recent hip or knee surgery, a hip replacement, or a diagnosed hip condition. Ask your surgeon or physical therapist which positions are allowed before you try this.
- Sharp pain, numbness or tingling during the stretch. Stop and get it checked.
This article is for general information and is not medical advice.
Where the Stretch Fits in Your Week
Do it when your hips are warm, not the first thing out of bed or straight after a long drive. A few minutes of easy walking beforehand makes the position more comfortable.
- After lower-body days. Lunges load the hip flexors of the back leg, so it pairs well with static lunges, walking lunges and alternating lunges.
- Before glute work. Stretch first, then train the glutes with a weighted glute bridge, a single-leg hip thrust or a side-lying hip raise. Strong glutes help hold the pelvic tuck.
- After kneeling exercises. If you do kneeling squats, the same stretch is a natural cool-down.
- On rest days. Two minutes a day is enough to reach the weekly total.
If you want mobility work scheduled around your training days and tracked alongside your workouts, the MyFitnessCoach app can hold it in your weekly plan.
Make Tight Hips a Two-Minute Habit
The half kneeling hip flexor stretch only works when the pelvis is tucked, so make the tuck your first step every time. Hold 30 to 60 seconds, repeat a few times per side, and stay consistent for a few weeks before you judge it.
If you want a plan that schedules your mobility and strength sessions and tracks them for you, try the MyFitnessCoach app.
Frequently Asked Questions
Similar Articles
Stay informed with these similar articles.
MyFitnessCoach
May 19, 2025
10 Best Dynamic Stretching Exercises Examples for Warmup
Have you ever jumped right into a workout and felt stiff or sore? That’s your body telling you it needed a better warm-up. One of the best ways to get your body ready for exercise is with dynamic stretching. This type of stretching gets your blood flowing, wakes up your muscles, and helps prevent injury.

MyFitnessCoach
January 15, 2025
Static Lunges: A Complete Guide to Mastering This Essential Exercise
Lunges are a staple in many fitness routines, and for good reason—they're simple, effective, and adaptable to any fitness level. Among the various types of lunges, static lunges stand out as an excellent way to build lower-body strength, improve balance, and enhance overall fitness.

MyFitnessCoach
May 6, 2025
Glute Focused Walking Lunges: Benefits and How to Perform
Glute focused walking lunges are a type of leg exercise that targets your glutes, also known as your butt muscles. These lunges are a little different from regular walking lunges. The goal is to move in a way that makes your glutes work harder. When done right, they help shape, tone, and build your glute muscles.