
Tib Raises: 5 Simple Steps + Mistakes to Avoid

MyFitnessCoach
September 8, 2025
Tibialis raises are an exercise where you lift your toes toward your shins while your heels stay on the floor. They train the tibialis anterior, the muscle on the front of your shin that pulls your foot upward. You can do them against a wall with no equipment, or add weight as they get easy.
You will also see them called tib raises, tibialis anterior raises or toe raises. It is the same movement. This guide covers the form step by step, a table for fixing the common problems, a loading ladder from bodyweight to machine, and a straight look at which of the popular benefit claims the research actually supports.

Table of Contents
Subscribe to our newslettter
What Are Tibialis Raises?
A tibialis raise is ankle dorsiflexion under control: your toes and forefoot rise while the heel stays put, then lower slowly. The main muscle doing the work is the tibialis anterior, which runs down the outer side of the shin bone and attaches to the inside of the midfoot.
In daily life this muscle lifts your foot so your toes clear the ground when you step, and it lowers your foot under control after your heel lands. Tibialis raises train exactly those two jobs, lifting and lowering.
| Muscle | Where it is | Role in a tibialis raise |
| Tibialis anterior | Front of the shin, just outside the shin bone | Main mover. Pulls the foot up (dorsiflexion) and turns the sole slightly inward (inversion) |
| Extensor digitorum longus | Same compartment, outside the tibialis anterior | Helps lift the foot and extends the lesser toes |
| Extensor hallucis longus | Same compartment, between the two | Helps lift the foot and extends the big toe |
The calf muscles (gastrocnemius and soleus) work in the opposite direction. That is why calf raises do not replace tibialis raises: they train the back of the lower leg, and tibialis raises train the front.
How to Do Tibialis Raises Step by Step
The wall version needs no equipment and is the best place to start.
- Set up. Stand with your back and hips against a wall. Put your heels about 12 inches (30 cm) from the wall, feet hip-width apart, legs straight but not locked.
- Lift. Keeping your heels on the floor, pull your toes and forefoot up toward your shins as high as you can. Count about 2 seconds on the way up.
- Pause. Hold the top for 1 second and feel the front of the shin working.
- Lower. Take about 3 seconds to bring the foot back down until the forefoot touches the floor.
- Repeat. Start with 2–3 sets of 12–20 reps and rest about 60 seconds between sets.
The sets, reps and tempo above are a practical starting point, not a research-proven prescription. The right numbers are the ones that give you a strong burn in the shin by the last few reps without making you drop the form.
To make it harder, move your feet farther from the wall. More of your weight then sits on your heels, which usually makes each rep tougher. To make it easier, move your feet closer or switch to the seated version in the variations below.
Form checks:
- Heels stay on the floor for the whole set.
- Knees stay soft, not bent to help the lift.
- Hips and upper back stay in contact with the wall.
- The lowering phase is slower than the lift.
Tibialis Raise Troubleshooting: What You Feel and How to Fix It
Most problems with tibialis raises come from setup and speed, not from the muscle. Match what you feel to the row below.
| What you notice | Likely cause | What to change |
| Burning in the shin after 8–10 reps | Normal fatigue in a small muscle | Expected. Stop the set when form breaks, and build reps over 2–3 weeks |
| Cramp-like tightness in the shin | Too many reps too soon, or too little rest | Drop to 8–12 reps, rest 90 seconds, and add reps gradually |
| Toes curl or claw to lift the foot | The toe extensors are taking over | Keep toes relaxed. Think "lift the top of the foot", not "curl the toes" |
| Foot barely lifts | Feet too far from the wall, or the load is too heavy | Move your feet closer to the wall, or remove the added weight |
| Heels come off the floor | Rocking and momentum | Slow the tempo, move your feet closer, and lightly rest your hands on a support |
| Hips or back leave the wall | Feet too far out | Bring your feet in until your hips and back stay in contact |
| You feel it in the knee or thigh | Knees are bending to help the lift | Keep knees soft but not bending. Switch to the seated version |
| Can't feel the shin working | Moving too fast, or range is cut short | Use a 2-second lift, a 1-second pause and a 3-second lowering |
| Sharp or pinching pain at the front of the ankle | Joint pinch or an irritated tendon | Stop the set, use a smaller range, and see a clinician if it repeats |
| Shin pain that lingers or worsens the next day | Too much volume too soon | Halve the sets for a week. Pain on the bone itself should be checked by a clinician |
Soreness in the front of the shin for a day or two is common in the first weeks. Sharp pain, swelling, or pain that keeps building is not, and it is a reason to stop and get it looked at.
Tibialis Raise Variations and How to Load Them
The wall version is the first rung, not the final one. Move up a rung when you can finish all your sets at 20 clean reps with a 3-second lowering phase.
| Step | Version | What you need | How it works |
| 1 | Seated tibialis raise | A chair | Sit with your feet flat and knees at 90 degrees. Lift the forefoot, keep the heel down. Easiest, and good for a first week |
| 2 | Wall tibialis raise | A wall | The version above. Distance from the wall sets the difficulty |
| 3 | Banded tibialis raise | A loop band and a fixed anchor | Loop the band around the forefoot and anchor it in front of you at floor level. Pull the foot up against the band |
| 4 | Weighted tibialis raise | A kettlebell or light dumbbell | Sitting on a bench with your leg over the edge, hang a weight from the forefoot or hold it against the top of the foot, and lift. Start light |
| 5 | Tibialis bar or machine | A dedicated tib bar or a gym machine | A lever or plate-loaded setup that lets you add weight in small steps. Nice to have, not required |
At home with no equipment: steps 1 and 2 are enough for a long time. To make them harder without gear, slow the lowering to 5 seconds, add a 3-second pause at the top, or do one leg at a time.
What to skip: adding load faster than the muscle adapts. If the front of your ankle pinches or the shin aches the next day, go back a rung.
A machine is a convenience, not a requirement. The key is progressive loading: more reps, a slower tempo or a little more weight over the weeks, whichever tool you use.
Benefits of Tibialis Raises: What the Research Supports and What It Doesn't
Tibialis raises reliably do one thing: load the tibialis anterior. Most of the bigger claims you will see online, such as preventing shin splints or protecting your knees, have not been tested directly. Here is where each one stands.
| Claim | What the research shows | Where it stands |
| Makes the tibialis anterior stronger | A randomized trial in stroke patients found that resistance training of the tibialis anterior improved its strength. We found no trial of tibialis raises in healthy lifters | Expected. Muscles respond to progressive loading, but not tested for this exercise in healthy adults |
| Prevents shin splints | A 2020 systematic review of runners listed mainly biomechanical risk factors (pelvic drop, hip internal rotation, foot pronation, female sex) and a jump of more than 30% in weekly running distance. A weak tibialis anterior was not on the list. A 2013 treatment review found stretching and strengthening exercises unproven for treating the condition, based on studies at high risk of bias. Proposed mechanisms point to the soleus and tibialis posterior, not the tibialis anterior | Unproven |
| Protects the knees or ACL | We found no controlled studies testing tibialis raises for knee or ACL injury | Unproven |
| Improves ankle stability and prevents sprains | Limited ankle dorsiflexion range is linked to higher injury risk, but that trial tested a multi-part program aimed at range of motion, not tibialis raises | Unproven for this exercise |
| Improves running or jumping performance | We found no trials testing tibialis raises for performance | Unproven |
What this means for you. Do tibialis raises because they train a muscle that squats, deadlifts and calf raises leave mostly untouched, and because they are cheap and low-risk. Don't expect them to fix or prevent shin pain by themselves.
If you run and get shin pain, the research points first at how quickly your weekly distance has grown and at foot and hip mechanics. A gradual mileage build-up is the first thing to check. Pain that stays on the bone, gets worse or wakes you at night is worth showing to a clinician, because it can be a stress injury.
The review evidence on shin pain is mostly small and low quality, so this section will change if better trials are published.
How Often Should You Do Tibialis Raises?
Two to three sessions a week is a sensible range for most people. The tibialis anterior is a small muscle that recovers quickly, so it can be trained often, but soreness is a good signal to hold your volume steady for a week.
| If you are | Where to fit them | Sets × reps | Version to start with |
| A beginner | After any lower-body or full-body session, 2 days a week | 2 × 12–15 | Seated or wall |
| A lifter | At the end of leg day | 2–3 × 15–20 | Wall, then banded or weighted |
| A runner | After an easy run, or on a strength day | 2–3 × 12–20 | Wall, then banded |
| Working from home | Any two days, in 5 minutes | 2 × 15–20 | Seated or wall |
These are practical starting points, not research-derived prescriptions. Progress the same way you would with any lift: add reps first, then load, and only one change at a time. Finish leg day with calf raises or a seated calf raise so the front and back of the lower leg get trained together.
Small muscles improve in small steps, so it helps to write the numbers down. Any notes app works, or you can log each set in MyFitnessCoach next to the rest of your leg workout.
Other Ways to Train the Tibialis Anterior
Tibialis raises are the simplest option, but not the only one:
- Heel walks. Walk on your heels with your toes lifted for 20–30 seconds. No equipment, and it trains the same lifting action while moving.
- Seated toe taps. Sit with your heels down and tap the balls of your feet up and down at a steady pace for 30 seconds.
- Banded dorsiflexion. The banded version from the variations table, done in a seated position with the band anchored ahead of you.
If you want the muscle trained for a purpose, such as running, choose the option that matches your activity and keep the volume modest.
Add Them to Your Next Leg Day
Start with two sets of the wall version at the end of your next lower-body workout, keep your heels down, and take three seconds on the way down. Add reps for a few weeks before you add weight.
If you want your leg day planned and every set tracked in one place, MyFitnessCoach can build the workout around your goal and log your sets as you go.
Frequently Asked Questions
Similar Articles
Stay informed with these similar articles.
MyFitnessCoach
May 9, 2025
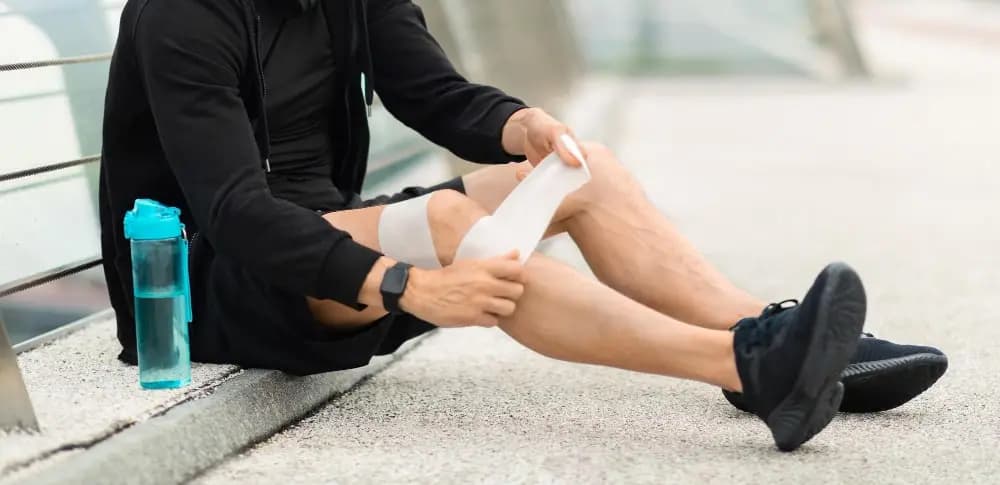
Why Kneecaps Sweat? 5 Surprising Causes & Proven Fixes
Ever noticed your knees getting sweaty for no reason? You're not alone. Sweaty kneecaps might seem odd, but they're more common than you think.
MyFitnessCoach
March 6, 2025
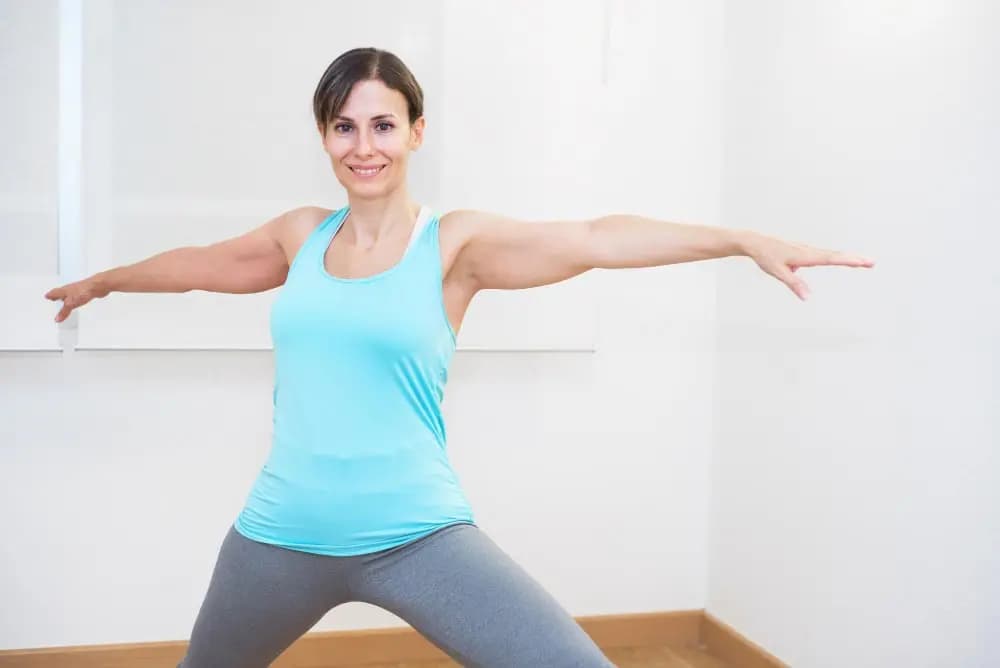
Arm Swing Exercise: Effective Way to Boost Your Fitness
When it comes to fitness, we often think of intense workouts, heavy lifting, or long runs. But what if I told you that a simple exercise like arm swings could be just as effective in improving your overall fitness? Arm swing exercises are easy to do, require no equipment, and can be done anywhere. Whether you're a beginner or a fitness enthusiast, arm swings can help you improve flexibility, strength, and even cardiovascular health. In this article, we’ll explore the benefits of arm swing exercises, how to do them correctly, and how you can incorporate them into your fitness routine using the MyFitnessCoach app.
MyFitnessCoach
February 24, 2025
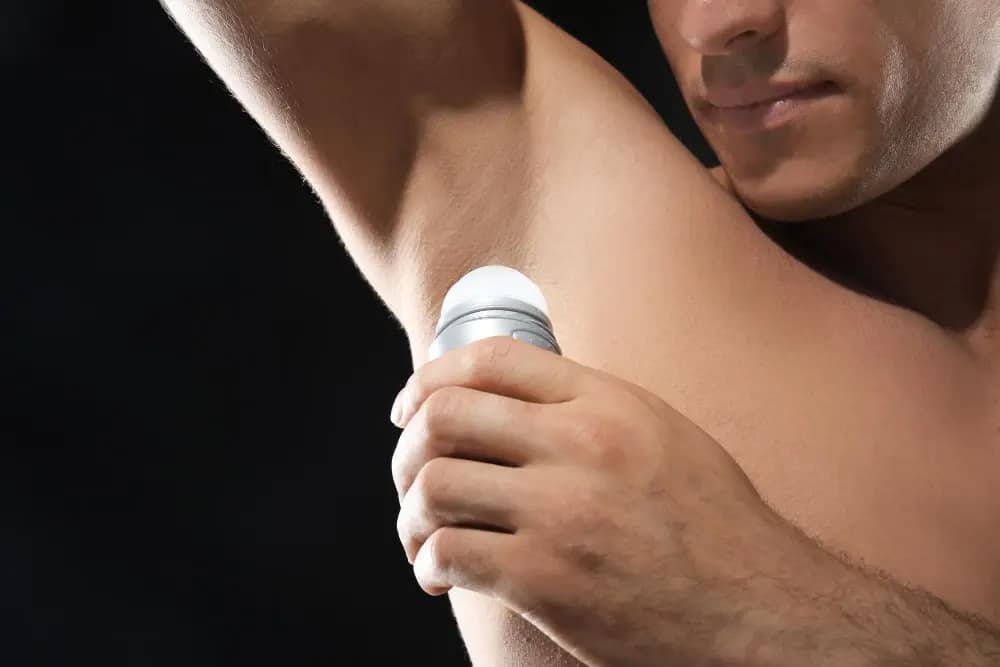
Best Deodorant for Athletes: Stay Fresh During Your Workouts
When you're an athlete or someone who loves to stay active, staying fresh and odor-free is a top priority. Whether you're hitting the gym, running a marathon, or sweating it out during a high-intensity workout, the right deodorant can make all the difference. But with so many options available, how do you choose the best deodorant for athletes? In this article, we’ll break down everything you need to know about finding the perfect deodorant to keep you feeling confident and fresh, no matter how intense your workout gets. Plus, we’ll show you how the MyFitnessCoach app can help you stay on top of your fitness game.